This was originally posted on the CoBattery blog and on the Startup Grind Medium feed in early 2017. I’m posting it here now to preserve it for the future.
CoBattery shut down in 2018. But I still think that a swappable battery phone case is a good idea! So if you are reading this and want to start the next CoBattery, reach out to me :).
Two years ago, CoBattery raised a little over $60,000 on Kickstarter. And while many Kickstarter campaigns fail or take forever to fulfill their orders, we fulfilled all of our Kickstarter orders without raising any extra outside money.
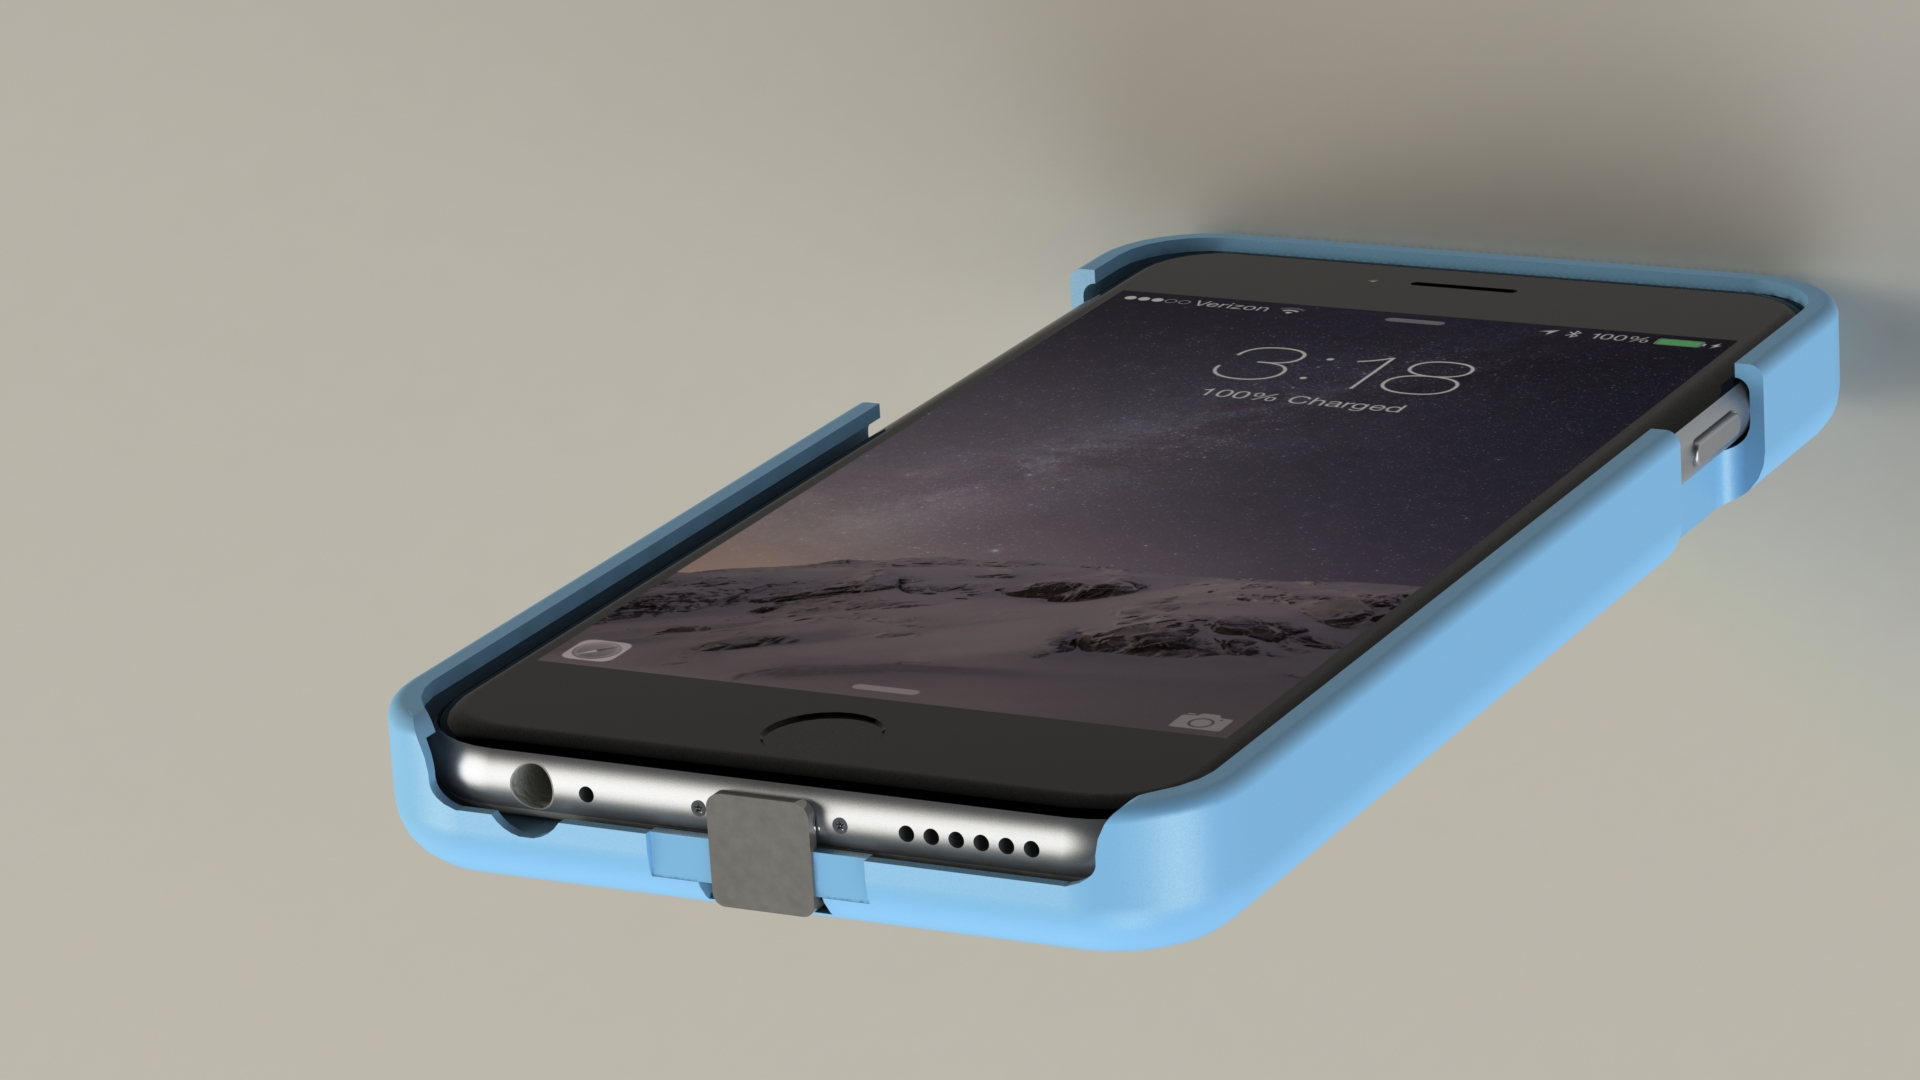
CoBattery is an iPhone battery case with a swappable battery. Your case holds one battery while the other battery charges at home. So when the battery on your case dies, you swap with the fully charged battery at home. To make this a reality, we designed and produced a new case that holds a battery, houses electronics, and protects the phone.
Before I started working on CoBattery, I had zero hardware experience.
Setting up hardware manufacturing seemed impossibly hard. My co-founder Doug and I looked online for advice, but there wasn't much out there to help us. So now, I am writing this guide in the hopes of demystifying the hardware development process for future hardware hackers.
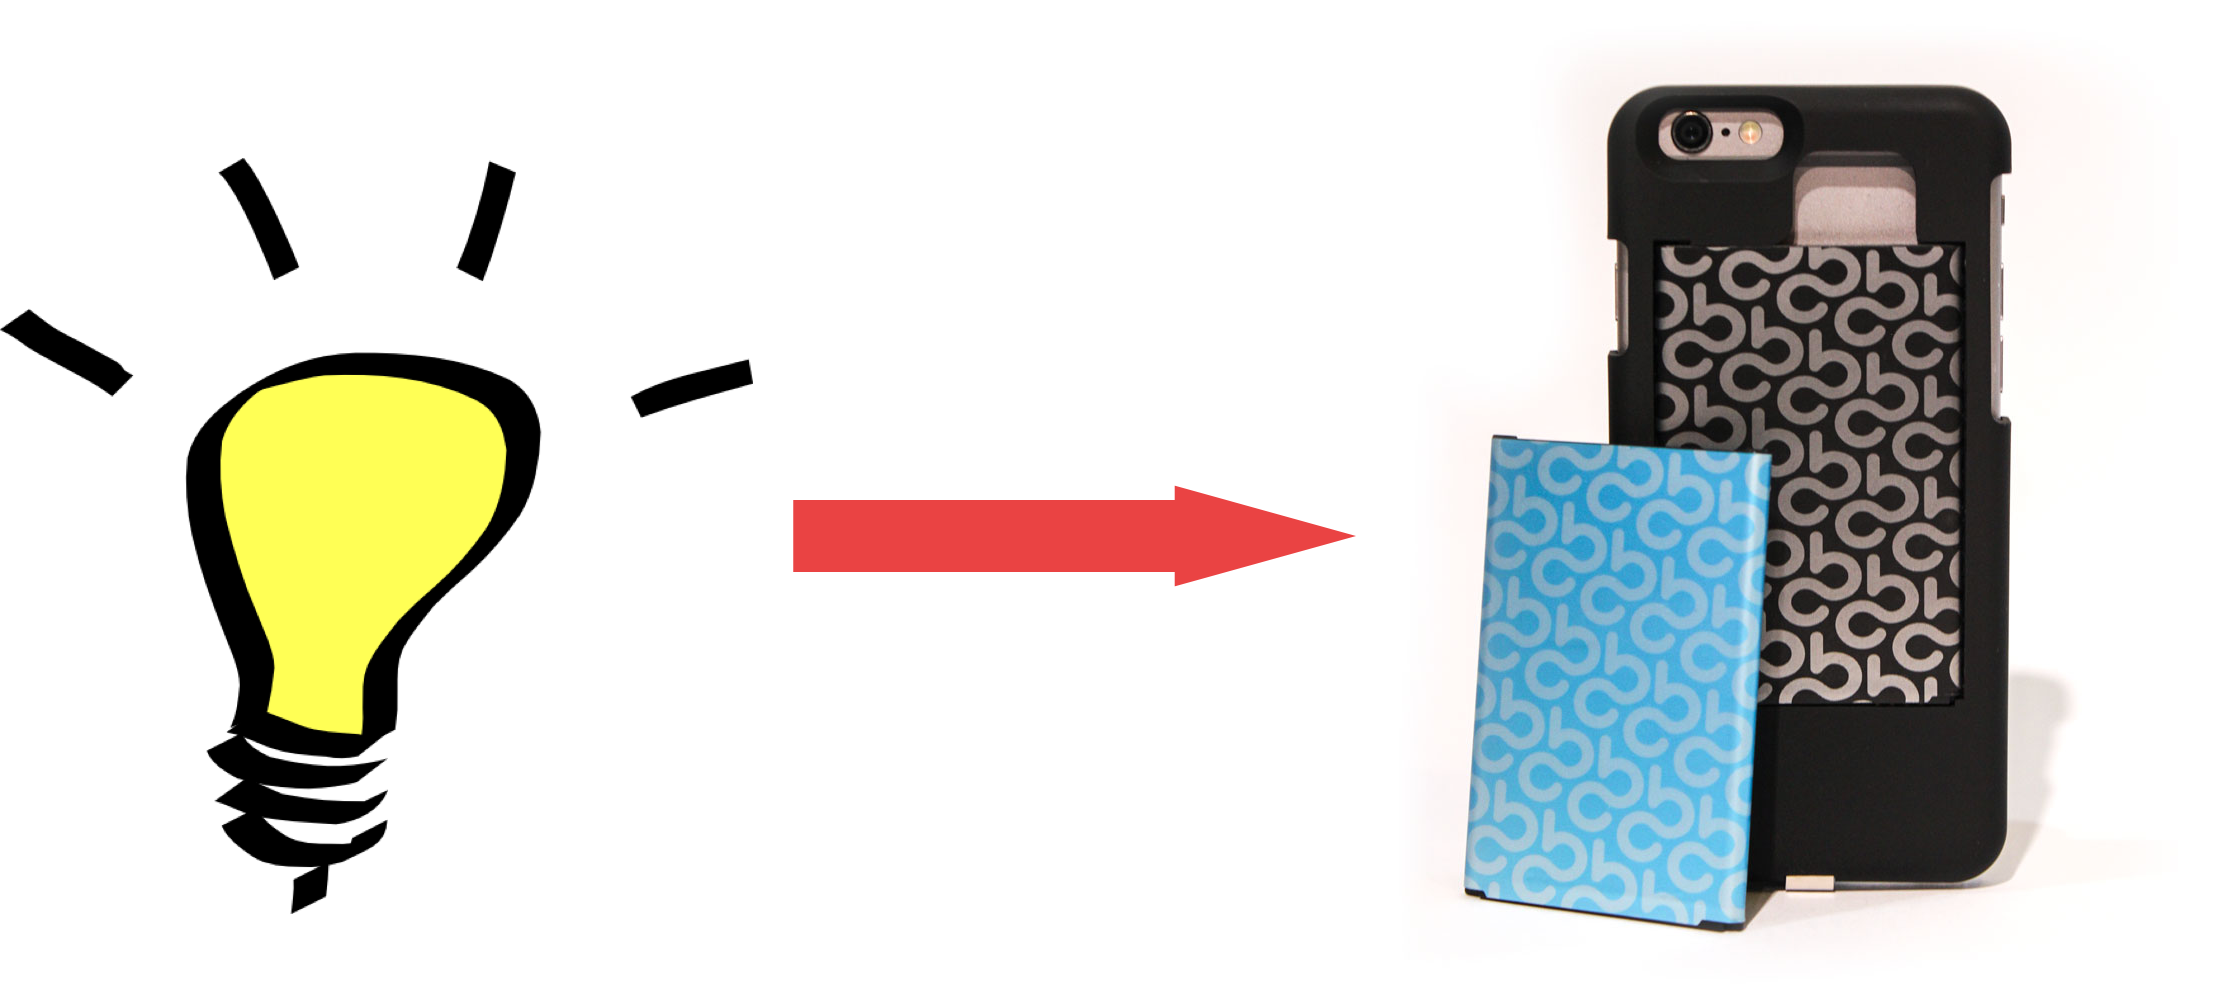
In the last decade, it has become much, much easier to start a consumer hardware company. What would have cost a hundreds of thousands of dollars and required massive scale and connections to achieve 10 years ago, can now be accomplished by anyone with a few thousand dollars.
If we can take CoBattery from just an idea to a retail-ready hardware product, you can too!
We divided this guide into 5 phases. Today we are posting the first two phases. Enter your email at the bottom to get notified when we publish the rest of the guide.
Phases of Manufacturing
-
Find manufacturers using Alibaba (coming soon)
-
Picking the right partner factory (coming soon)
-
Scale up production at a Chinese factory (coming soon)
Create a virtual prototype with CAD
Summary: Use a free CAD program to create a CAD drawing of your prototype. This will make it easier to iterate on your idea and is a first test of manufacturing feasibility.
Cost: Free
If you aren't familiar with CAD, don't be scared off here! CAD stands for computer aided design and is used by engineers and architects to create precise mechanical drawings. CAD is the hardware analog of a programmer's IDE: CAD allows you to define a physical object through a series of transformations.
Below is a screenshot of an early CoBattery design from Onshape, an online CAD program.
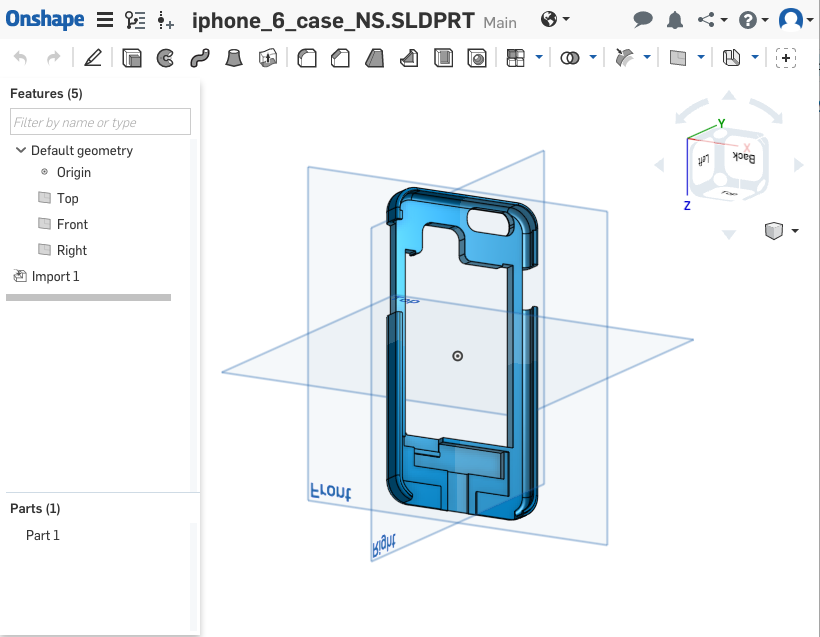
An early version of CoBattery for iPhone 6 in Onshape.
CAD is the first place to start on your journey to mass manufacturing. Taking an abstract idea or duct-tape prototype and putting it into CAD does two things.
-
CAD lets you easily visualize and iterate on your design. Instead of wondering, What would the case look like with extra thick walls?, quickly double the wall length in CAD and evaluate the results.
-
While making a CAD doesn't ensure that you can manufacture the part, CAD is a good first test of feasibility. Getting a design into CAD tests physical constraints. The more advanced CAD programs have built-in analysis tools. These tools can show you where two different pieces don't fit together and can even evaluate manufacturability.
We quickly get ideas into CAD as we iterate on the design for CoBattery. A thumb cavity on our case allows you to easily remove and insert the battery. As part of our redesign for iPhone 7, we wanted to improve the feel and aesthetics of this cavity.
At first, we tried to talk about the design using mechanical engineering jargon. Do we want the edges of the cavity filleted or chamfered? Should the cavity have a bottom or should it go all the way through? Should the cavity be sloped?

Different designs of the thumb cavity on CoBattery.
These kind of questions lead to wasted time. Even when we thought we were on the same page, we realized we were talking about different things. We created the above CAD and identified each design with a letter. So instead of trying to remember the difference between a cavity and a depression, we simply compared A vs B.
We ended up going with B. B gives us an aesthetically pleasing rounded edge that is easy to feel for but still relatively straightforward to manufacture.
CAD software for beginners
Five years ago, all CAD software was really expensive. Unless you were a student studying mechanical engineering, you would have to shell out thousands of dollars for AutoCAD or SolidWorks. There weren't alternatives, so many would-be hardware entrepreneurs were deterred by this first barrier.
Fortunately, there are now a bunch of free CAD solutions that work well enough for prototyping. They aren't going to have the same full feature set that AutoCAD and SolidWorks have, but they provide a good start.
Onshape is my favorite free CAD program. The free version includes the Onshape's full feature set with one constraint: you can't make any of your CAD files private. But, if you are working on a new project, you probably have security by obscurity, so having your initial prototypes be public shouldn't be a problem. (Update: making your files public begins the patent public disclosure process.)
CAD software, if you haven't used it before, takes some time to get used to; it's not designed for beginners. When you first jump in, you will be super overwhelmed. I remember I was paralyzed the first time that I opened up SolidWorks. Buttons and weird icons appeared everywhere.
But don't give up here! As you work through some tutorials, you will slowly get the hang of it. Onshape has an online video course that is great for beginners.

The GIF above shows the iterative design of a simple iPhone case. First, we make a rectangle in the size and shape of the phone. Then we bring up the edges of that rectangle to serve as the sides of the case. Finally, we round all of the edges of the case for a nicer finish. I’ll leave cutting pass-throughs for buttons and ports as an exercise for the reader (Onshape file here).
If you'd rather start with similar product and tweak it to your needs, check out Thingiverse. Thingiverse is an online community where people share 3D print designs. Start by searching Thingiverse for “iPhone case”. From there, find the case that most accurately resembles the case want to make. Then tweak it to get to your design.
We actually found a CAD for the iPhone 6 on GrabCAD, another online CAD community. Importing the iPhone 6 into our CAD design allowed us to easily design our case around the contours of the phone.
Render used on Kickstarter that we generated from an early CAD file.
Getting your idea into CAD also opens up the possibilities for high quality renders that can be used in marketing material. Above is a render that we used on our Kickstarter. At the time, we had our cheap 3D printer so we weren't able to take any beautiful product photos. Creating this render from our CAD file allowed us to showcase our vision for CoBattery.
3D print your prototype
Summary: Buy a 3D printer for a few hundred dollars. Use your 3D printed design for user testing. Contract specialty 3D printing shops for parts that need to be extremely precise, strong and/or flexible.
Cost: ~$1,000
Once you have a CAD of your first prototype, it is the time to take the first step into the messy, physical world of hardware. It's time for 3D printing!
3D printing is a really cheap and quick way of making physical things. With 3D printing, you build up an object layer by layer, so there are few constraints to what you can make. And 3D printing, like CAD software, is newly available to the masses! 3D printing was started in the late 1980's but the first 3D printers for under $10,000 came out in the last 10 years.
3D printing plus super glue and duct tape can get you pretty far. Below is a first version of CoBattery that we made to test battery swapping. As you can see, we started with a really, really low quality prototype. This first design had wires exposed, broke easily, and was downright ugly. This was not a design that we could sell. But selling wasn't the goal; we were testing an MVP of the user experience.
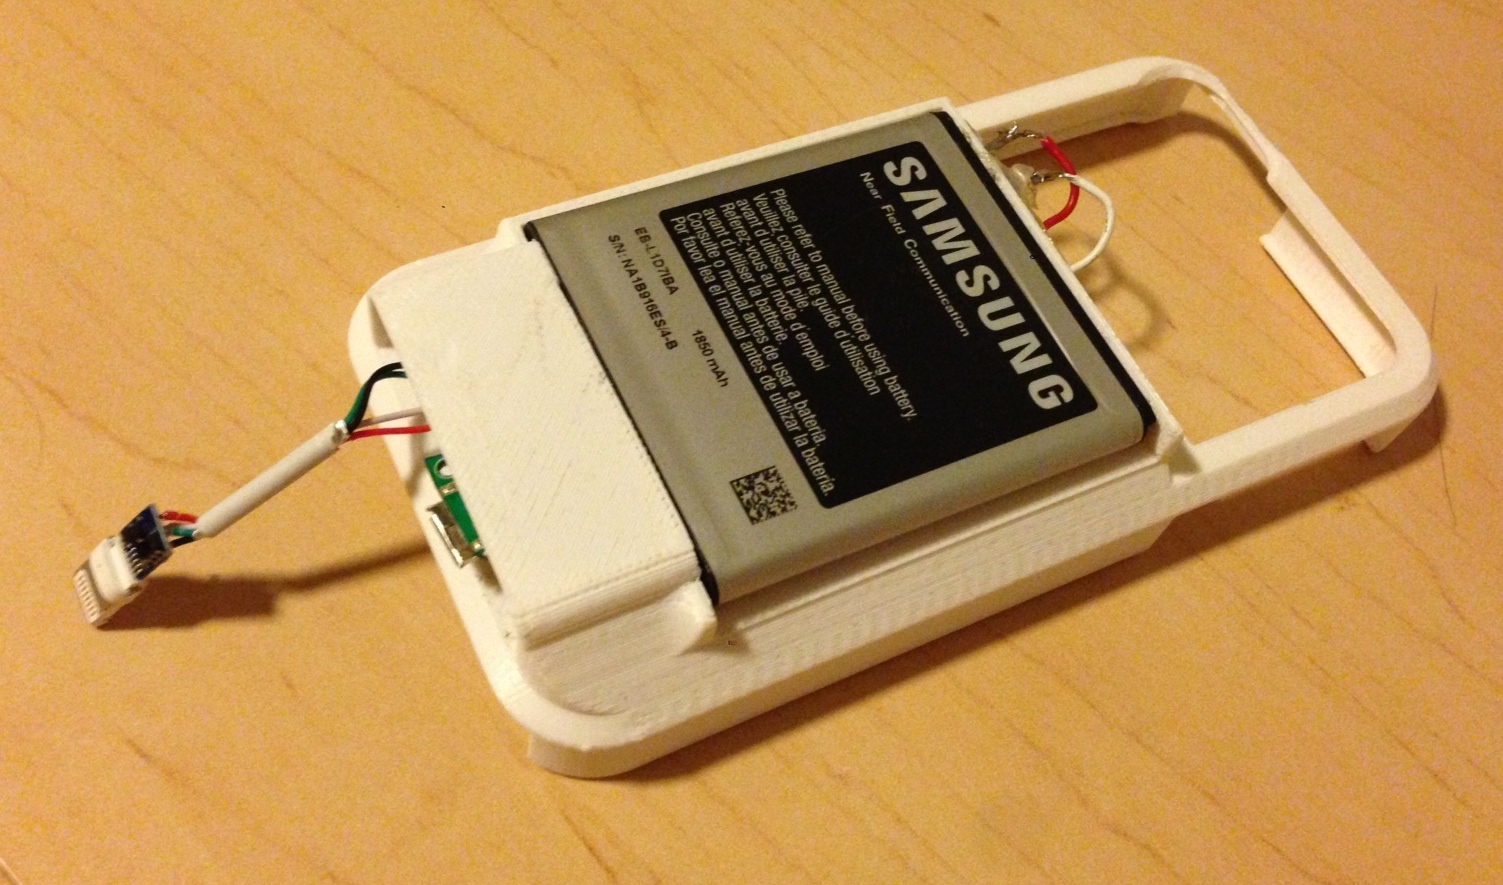
An early, 3D-printed CoBattery prototype.
We printed a few of these cases and used them for a week. While this prototype was not easy to use, it got across the basic functionality. While in the past Doug and I both had persistent battery issues, that week our phones stayed at 100%. And we never had to plug in!
The prototype, with all of its ugliness, got the idea across: We liked battery swapping.
3D printing for beginners
3D printing comes in different varieties, but the basic concept is the same: 3D printers build a 3-dimensional object from 2-dimensional slices. Different types of 3D printing differ in how each 2-dimensional layer is constructed and with what materials.
Fused deposition modeling (FDM) and Stereolithography (SLA) are the two most popular types of 3D printing. In FDM, a thread of plastic is used to trace out each layer. SLA builds up each layer in a pool of liquid resin. Light is used to harden a certain pattern in the resin to form each layer.
An FDM printer works for most use cases and the cheapest printers are all FDM. Use SLA if you need more precision or a smooth finish. But SLA comes with higher costs and typically a smaller build volume.
This layer by layer printing allows 3D printing to make almost any shape. Check out the video below to see how an FDM 3D printer builds up a robot layer by layer.
For CoBattery prototypes, we used an FDM printer called the DaVinci 1.0 sold by XYZPrinting. The DaVinci is a Chinese knockoff of Makerbot and can be bought for a few hundred dollars on Amazon (update: DaVinci was actually inspired by Reprap, not Makerbot). (The name makes me wonder how much more prolific Leonardo could have been with 3D printing...)
With our DaVinci printer, we can print a new case in just a few hours. In the product development phase, we go through a few iterations a day. While this is not software speed, it is extremely fast for hardware development. Before the advent of personal 3D printers, we would have paid for a company to print cases for us. We would be limited to one iteration every few days.
3D printing allows you to iterate on your design while user testing each iteration. We used our 3D printed cases every day for months before moving on to mass manufacturing. User testing caught multiple design flaws upstream of manufacturing. One example: at a party I was not able to plug in my phone to the speaker system. The prototype at the time obstructed the headphone jack. We revised our design so that now, CoBattery customers can plug in any audio jack without a dongle.
If you don’t have money or space to buy a 3D printer, tech shops and universities often rent out time on 3D printers. TechShop offers memberships that give access to their maker spaces with locations across America.
High-end 3D printing on-demand
The case that you can order right now is produced using injection molding. With injection molding, a cavity in the shape of your product is cut out of a steel cube. Then, a hot gun shoots molten plastic into that cavity, so that when the plastic cools, it hardens in the shape of your product.
The video below does a great job giving an overview of injection molding.
Injection molding requires milling the cavity out of a steel mold. This costs a few thousand dollars and can take up to a month. If you get something wrong, you likely have to start all over. Mistakes are expensive.
Milling an injection mold has similar to constraints to Michelangelo sculpting David. If young Mike had accidentally lopped off David's ear, the Operai wasn't going to come over with another perfect marble block. So, we wanted to be sure we got the injection mold right the first time around.

Michelangelo’s David and a 3D-printed version from Thingiverse. Can you tell which is which?
Our 3D printer was great for prototyping, but it was not accurate enough to move our CAD on to injection molding. Our 3D printer prints at about a scale of 1.1 from the CAD file. So if when we print a 10 x 10 x 10 object, we will get something printed that's roughly 11 x 11 x 11. But, there is enough variance we did not feel comfortable simply scaling the CAD down 1.1.
To understand the true dimensions of our CAD, we ordered a high quality 3D print from Fictiv. Fictiv does high-end 3D printing as a service (3DPaaS?). You send them your CAD and they send you back a high-quality 3D print of your part. We paid Fictiv ~$100 for each precise 3D print of our part. This allowed us to do several final iterations on the dimensions before sending the CAD to our injection molders.
3D printing services are also useful if you have some special requirement for your prototypes. Printers like the MarkForged can print rock hard Kevlar and metal. Voodoo MFG has printers that print a rubbery TPU. I recommend iterating with a cheap SLA or FDM printer, and then using a 3D printing service like Fictiv or Voodoo to get higher quality prints before moving to manufacturing.
If 3D printing doesn't work for you, you can use other low cost ways of cheaply creating a physical prototype. Kate Spade handbags started with paper prototypes, then moved onto burlap for their first product. Ten years later, the company was sold for over $100MM.
Next Steps
Find manufacturers using Alibaba
Picking the right partner factory
Scale up production at a Chinese factory
These sections are all coming soon! Enter your email below to get an email when they arrive. Or email me at victor@cobattery.com if you have any questions or comments!
2017-03-31: If you are interested in CoBattery, use “GOWIRELESS” as a promo code to get $20 off.
Don’t love it? We will give you a full refund w/in 30-days for any reason.
